|
Reports are what Microsoft Access is all about. Once you have created the
database, set up a table, created an input form, entered data into the
table, selected records from the table through a query, you now want to
create a report to display the data as useful information. As in the case
with forms, Microsoft Access provides several predefined reports and has
a Report Wizard. The Report Wizard will be used in the example below. You
can also create your own customized reports by using Microsoft Access report
design tools.
To create a report using the Report Wizard click on Reports in
the Objects section of the the "Database name: Database" dialog box and
then click the New button (as illustrated in Figure 1, below).
FIGURE 1. Dialog boxes showing
"Reports" selection and "New Report" options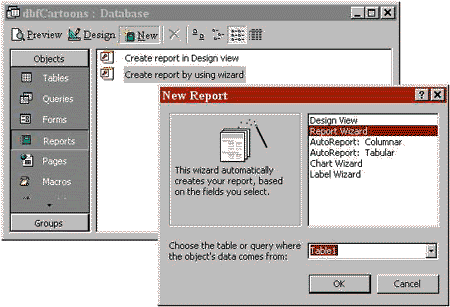 |
In the first Report Wizard dialog box you are asked which fields you
would like to include in your report. You can highlight the available field
you want to work with and then click the > button, or you can choose all
the fields listed by clicking the >> button. Click on the Next button
to go to the next Wizard dialog box. Continue to click on the Next
button in the successive dialog boxes while making the necessary changes
along the way (shown in Figures 2 through 7, below). In the last dialog
box enter the title for your report, choose "Preview the report" or "Modify
the report's design", and then click Finish. The end result is displayed
(as illustrated in Figure 8).
| Note: For information about naming your report file, please
see the section entitled "Naming Conventions". |
FIGURE 2. Report Wizard Selected
Fields. |
FIGURE 3. Report Wizard: Grouping
Levels.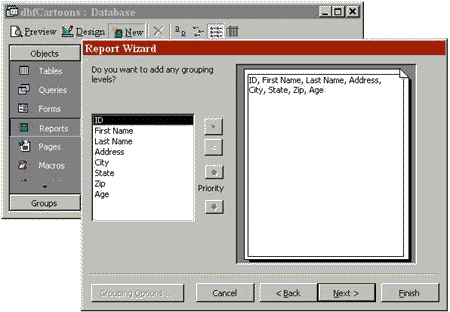 |
FIGURE 4. Report Wizard: Sort Order.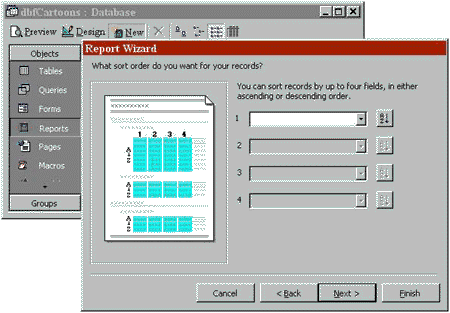 |
FIGURE 5. Report Wizard: Layout
and Orientation.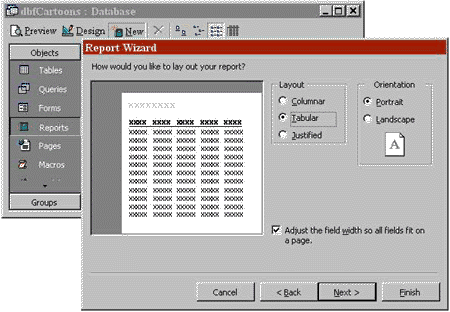 |
FIGURE 6. Report Wizard: Style.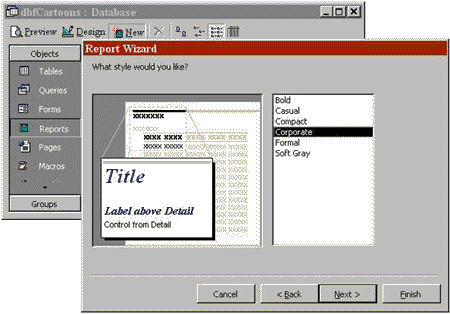 |
FIGURE 7. Report Wizard: Title.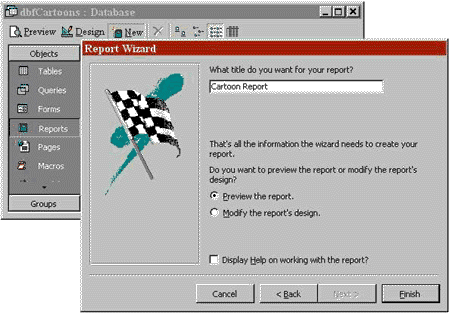 |
FIGURE 8. The Report.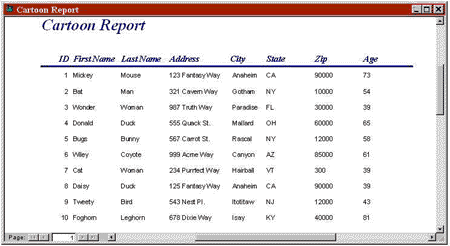 |
|


