Thermal Expansion Illustrated with Video Microscopy
Microscopy -
Teacher's Guide
SED 695B; Fall 2005
SED 695B; Fall 2005
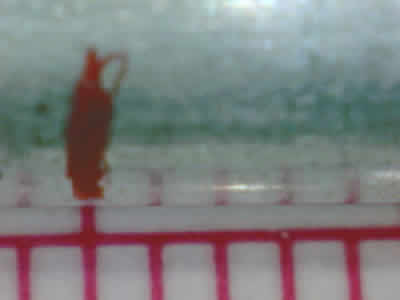
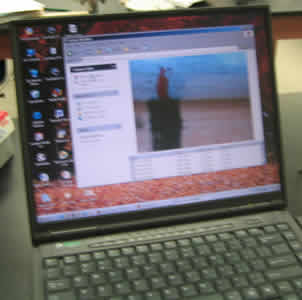
This is the expansion of a 87mm aluminum tube as it is heated from approximately 20C to 100C. The calibration was inserted with the Proscope software.
Topics addressed
Description of Investigation
Thermal Expansion
Study Guide:
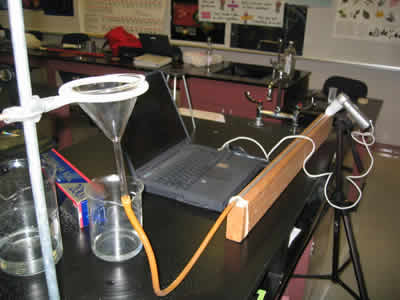
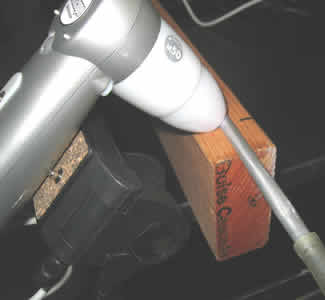
- Set up the apparatus as shown in these instructions. Instead of using the pointer, set up the video microscope on a tripod and aim the microscope at the free end of the tube. Make sure that you can see both the tube and the wood below it for a reference point. It is very helpful to place a millimeter scale beneath the free end of the tube to give a visual reference for the movement.
- Ice water is first run through the tube to get it as cold as possible. Make sure that the mark has stopped moving before moving to the next step.
- Pour hot water through the tube, carefully observing how the mark moves. Of particular interest is whether the mark moves at constant speed or if it accelerates and decelerates at the ends of its travel. Pour sufficient water to make sure that the mark has stopped moving.
- Allow the tube to sit for a couple of minutes while observing the microscope image. Does the metal stay expanded, or does it start to contract? Does it return to its original position?
- Now pour ice water through the tube and observe the microscope image. Does the mark return to its original position?
Questions:
- When the hot water was poured through the tube, did the mark move at a constant speed or did it accelerate and decelerate? Why did it move as you observed?
- When the cold water was poured through the tube, did the mark return to its original position? Was this your expected result?
- What would happen if a colder material, such as alcohol cooled with dry ice, were passed through the tube?
References & Links:
Instructions to build the thermal expansion apparatus for less than $10 can be found here.
If you have money to burn, here's a very nice apparatus. It doesn't really work any better, though.
The maker of this video microscope.