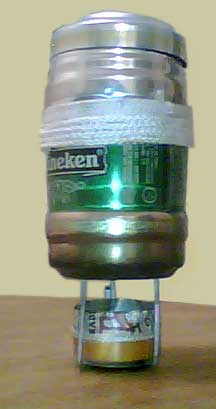
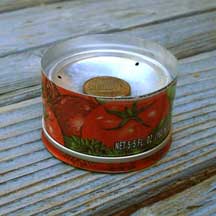
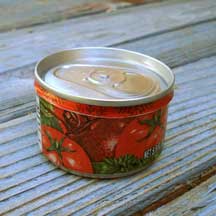
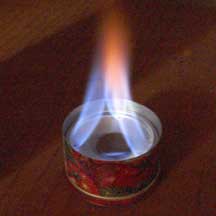
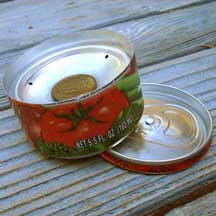
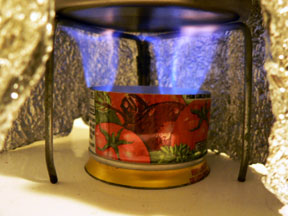
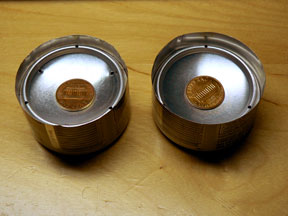
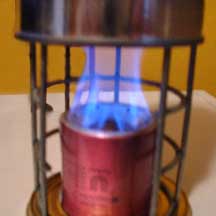
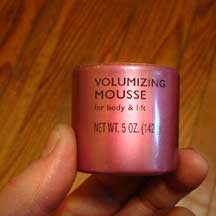
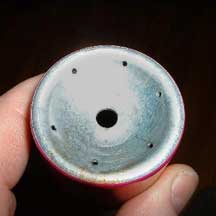
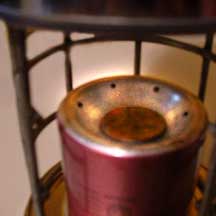
Don Trapp sent theseinstructions for the full size version of the small pot Penny system along with a cool pot support and useful advice on mixing alcohol brands to make the flame more visible.
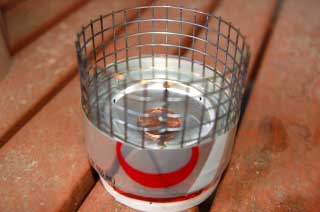
"1. I decided to use a SnowPeak 450 titanium mug as my only cookpot.
2. I made my penny stoves from diet Coke cans,
which worked great. The burner was 3/4" high, and the fuel cup was 1 3/8" high.
3. I used a paper cup for the base.
Unable to find a suitable base for the Coke cans, I cut down a 32 ounce paper Coke cup until it was 1/2" tall.
Boiling alcohol keeps the base between 150° and 180°, which is far below the 451° needed to ignite paper. Also, the high sides of the stove keep the jets' heat away, so the paper base doesn't even turn yellow. The paper cups were dipped in paraffin to make them waterproof, so the cup sometimes sticks to the stove slightly once it cools. The paraffin is essential, however because it prevents the paper from absorbing alcohol. Even though I've had alcohol burning all around the base many times, the base itself has never burned, although it does have some scorch marks on it.
4. I used 1/4" stainless steel welded wire mesh for my pot support.
The mesh was cut 8 1/4" x 1 1/2" high, and was formed into a cylinder that fits inside the pop can on top of the burner. It was extremely sturdy for my SnowPeak 450 Titanium mugs. It is actually too sturdy; I think it could be lighter if a finer screen were used.
5. I moved the burner jets just inside of the burner.
I had to do that so they would hit my tiny pot. Six holes was far too many, making fire roar up the side of he mug, so I used 3 holes.
6. I tried a new fuel mixture to make the fire visible, with fantastic results.
I mixed 50% S-L-X Denatured Alcohol (from Home Depot) with 50% Isopropanol alcohol (Red Bottle of Heet from the gas station). The mixture makes enough yellow flame to make the fire visible, without creating as much soot as pure isopropanol gives. A mix of 73% (1 quart) SLX and 27% (1 bottle) Isopropanol worked as well. I got the idea from Daniel Perlman, who patented a mixture that includes water, in US Patent 5,858,031.
My mix allows you to see the tips of the fire, and in the event of an out of control fire, see the entire fireball. Of course, I agree that Everclear is the superior liquid in the field. Anytime you camp overnight, you should use Everclear. But I find my mixture works great for picnics.
7. For a lid, I use brass quart jar lids.
Drill a 1/16" hole, then attach a piece of 5/16" wood dowel, with a #2 brass wood screw, to make a lid handle.
8. I used JB Weld to seal the seam at the edge of the burner.
The seam needed to be sealed, not to prevent vapors from escaping, but to make the stove hold priming fuel long enough to ensure that the stove would light every time.
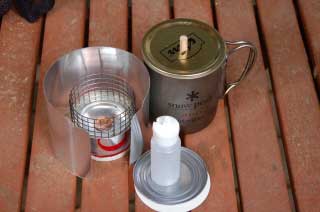
9. The windscreen, base, stove, pot support, lid, and penny all fit inside my titanium mug,
making a compact, very lightweight water-boiling system - stove, stove holder, stainless steel mesh pot support, windscreen, priming pan, insulator for priming pan, drip bottle for alcohol, mug, and lid. My goal was to have everything fit inside the mug, including a Lexan spoon, knife, and matches.
Operational notes:
1. I found the best way to prime it is to put the penny in, pour one full ounce of alcohol on top of the burner, and light it immediately.
2. Yes, my stove burns very hot, but my main criteria is reliability and not economy since I don't backpack for weeks anyway. So for me, wasting fuel is OK as long as I know it will light everytime!
I switched to using 1 ounce Nalgene drip bottles from REI, which are perfect!, and prevent spills. I calculated that about 80% of the energy is wasted, so the original Penny stove is definitely more efficient than mine. I believe the primary reason for my inefficiency is the small pot size. Cold weather:
Obviously, the downside of the paper base is that you can't prime the stove by pouring fuel in the paper cup beneath the stove in cold weather. Using a side-cutting can opener, I cut the lid off a #300 can to create a little fuel pan for priming. For thermal insulation, the priming pan sits on top of a 3" disk of wax cardboard cut from the side of a half gallon milk carton. In cold weather, I use the priming pan instead of the paper base. It all fits inside the bottom of the mug for storage."
Thank you Don for the great ideas!
Also take a look at the FAQs section How can I make a small pot stove?
|
